Installing the eToken software
Assuming you are running 32-bit Windows, locate the file: PKIClient-x32-4.5_signed.msi
and double-click on it. This file will be on the CD sent to you by
EUMETSAT. Use the 64-bit version (PKIClient-x64-4.5_signed.msi) if you have 64-bit Windows. Please
note that the earlier RTE_3.65 version is not supported and should not be used.
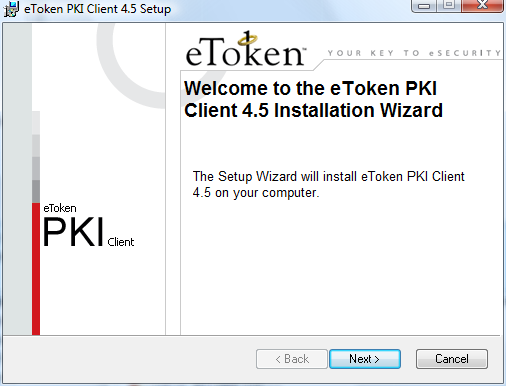
Select your language, and accept the licence agreement.
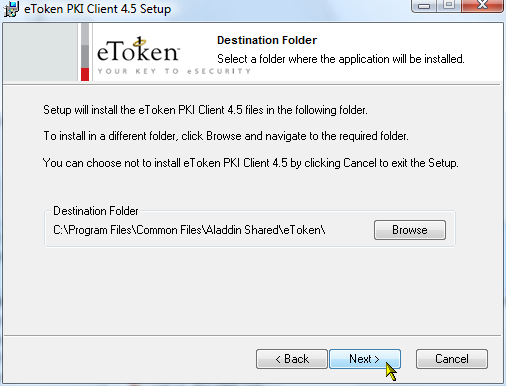
This time, I left the default installation location:
Close down the PC, insert the eToken into a free USB slot, and
reboot. It seems that under some versions of Windows Vista and Windows-7, you may get a dialog
at start-up inviting you to enter a password for the eToken. Just dismiss
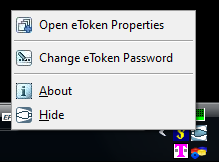
this dialog (Cancel). While the eToken V4.5 software is running, you will get an icon
 in
the Taskbar area. You can right-click that icon to access the eToken
properties menu, to check that the eToken is working correctly.
in
the Taskbar area. You can right-click that icon to access the eToken
properties menu, to check that the eToken is working correctly.
James Brown notes: I cleared the box by following an Aladdin
support page which explained that the E-tokens came initially shipped with a password of 1234567890.
When I entered that as the old password (desperate measure I know!) and entered my
EUMETSAT one it was accepted and the box hasn't returned. Just a further scrap of info to add to your jottings! [I would rather this dialog didn't appear - DJT]. You may
also need to stop
the PKI Monitor if you get repeated password requests when Web browsing.
If things aren't working, to check, try, Programs, eToken, eToken
properties
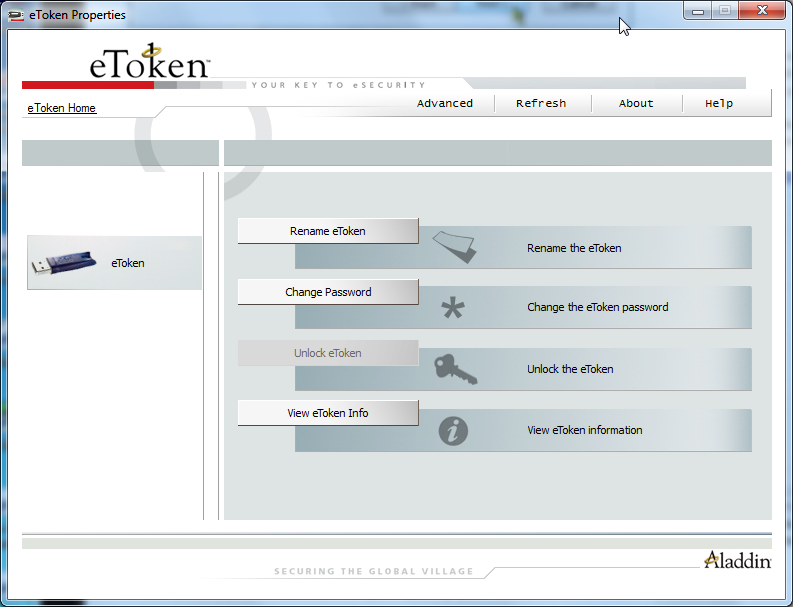
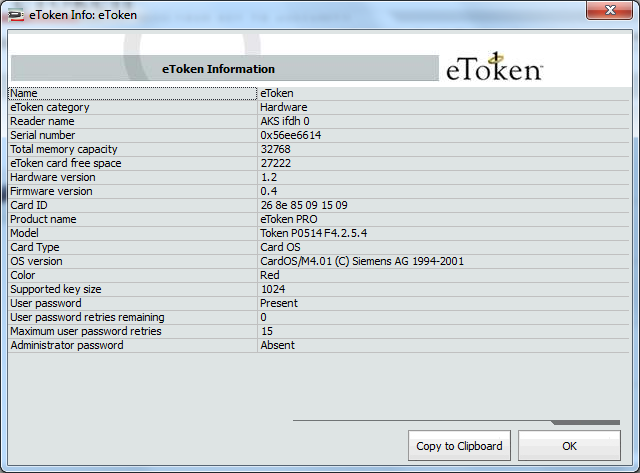
Then click on the View eToken Info button. See if you get a page of eToken information display (like that
below). If the page looks OK, your eToken is fine.
Start the Dexatek software, and press the IP button to start the
IP services. If all is working well, you should be able to use the HTML
shell of the TelliCast software and see some active channels! You can now
edit the recv.ini file with your user information, and the recv-channels.ini
file to suite the data you wish to receive. Note that on a freshly
installed Windows Vista or Windows-7 system, you may need to visit www.java.com
to get Java which is required for the overview graphical throughput display.
Arne van Belle comments that a Vista Business Edition, which had all the updates
automatically applied, did include Java.
If the HTML shell does not work for you, open up your Web
browser and enter the address:
http://localhost:8100
If you are reading this on your EUMETCast receiver PC, just
click the link above. It's for the 2.12.1/2.14.2 TelliCast client rather than the
older 2.4.4a client which uses port 2517, as in the screen-shots. In Internet Explorer, for example, the address would look like
this:

If you have a local area network, you can also access your
receiver PC across the LAN and hence check on the status of the TelliCast software
remotely. Enter the address in the browser as:
http://receiver-PC:8100
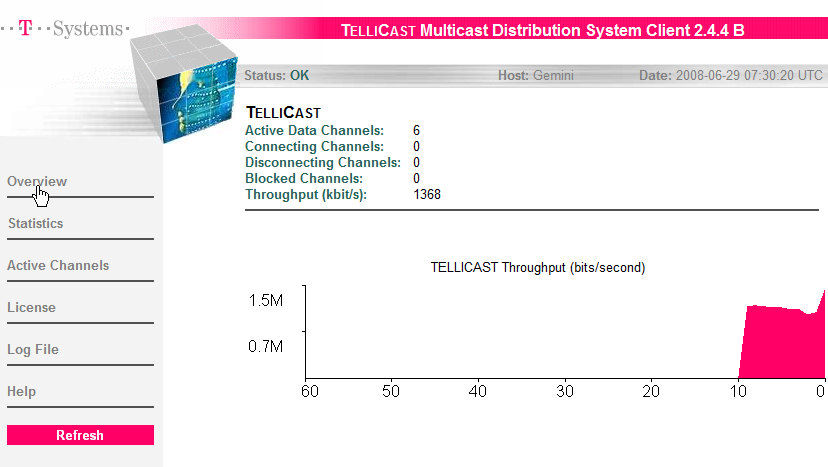
When you first open the HTML Shell, you should get a screen
display like this. The throughput graph will scroll from right to left, so
that you can see in the graph below I allowed the page to run for about ten
seconds before taking the screenshot. Note that the client version at the
top may be shown as 2.4.4a in slightly later versions of the TelliCast software
- that's OK.
If you get a warning message dialog entitled Application
Blocked please see this page about Java
security.
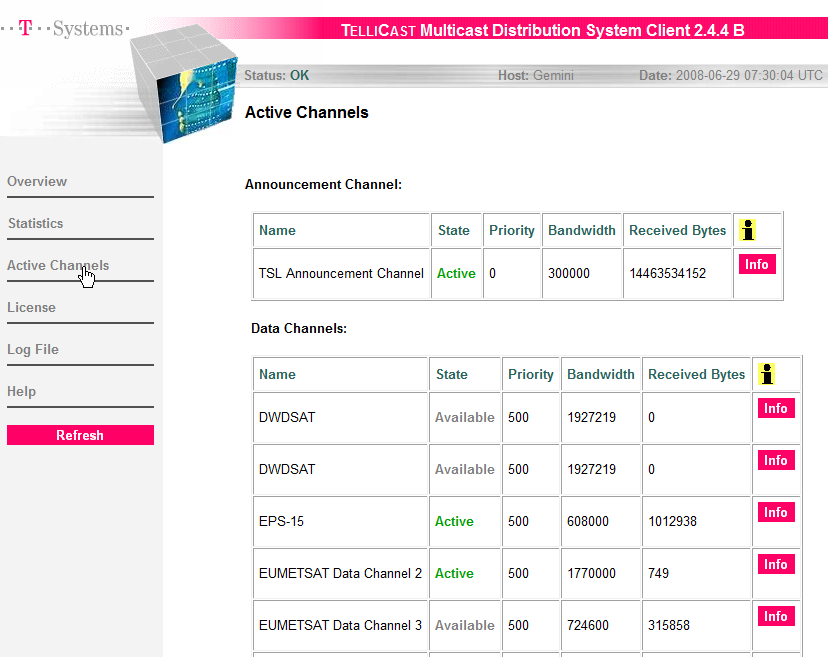
You can then click on the Active Channels option in the left
menu, and you should see the TSL Announcement Channel, and some others, being
active.
|